
If you are on this web page, then you have most likely either read or at least heard of Peter Liljedahl’s book “Building Thinking Classrooms“. I read this book in the summer of 2022 and it greatly influenced how I wanted to run my classroom after consuming the information (check out my debrief of how my first year went over here). Since then, I have been working to implement the strategies with my students, to varying levels of success. As with any teaching strategy, I try things and fail, reflect, revise, then try them again, and hopefully improve. This has definitely been the case for me, especially when trying to implement a “Thin Slicing” lesson.
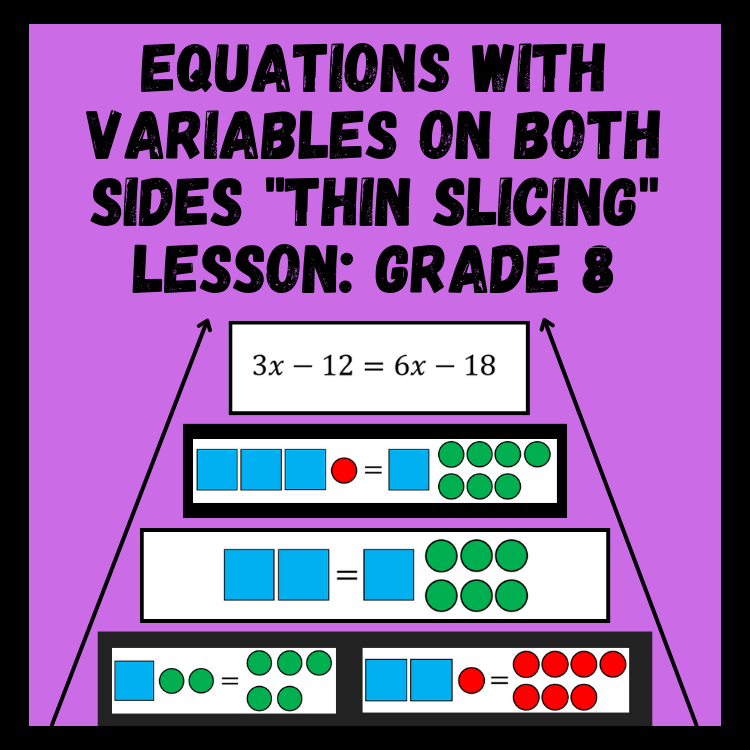
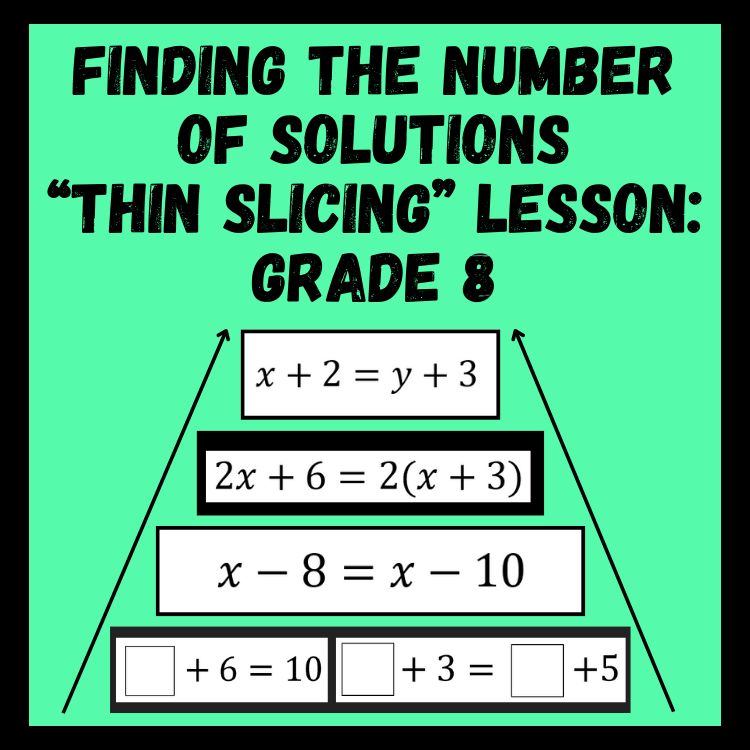
If you haven’t tried the lesson strategy before, the basic concept (as I understand it) is that you start your students with a single problem at a very low floor, then gradually give them more complex questions, in a very thoughtful sequence, that leads students to discover the concept you are targeting them to learn. Each new problem in the sequence is called a “thin slice”, since it is just a bit harder than the one that came before it, or introduces a new wrinkle to the strategy. If done well, a thin sliced lesson can help students discover concepts with their random team of three, and you are free to roam the room asking guiding questions and getting students to explain their thinking.
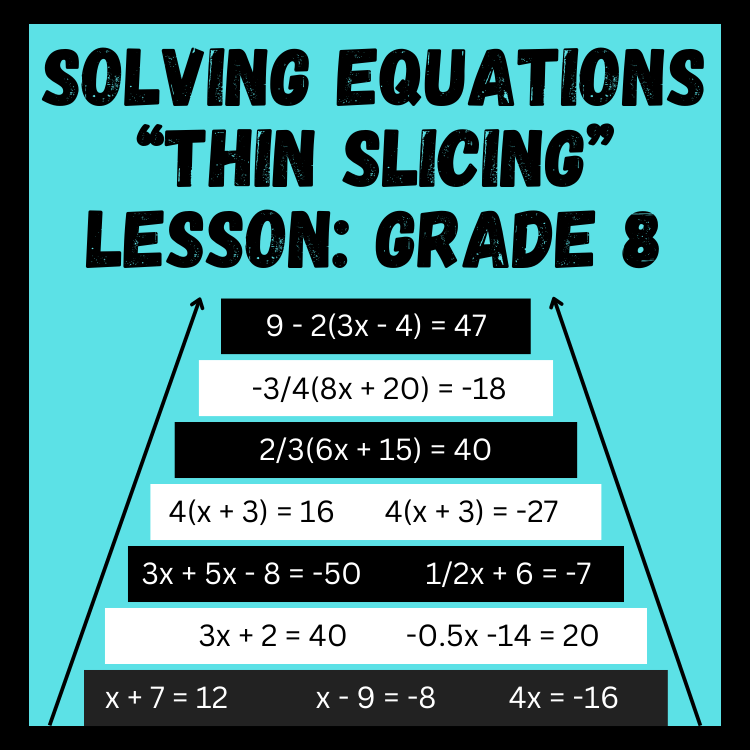
The first time I tried a thin sliced lesson was a mixed success. I did a linear equation solving lesson with my 8th grade students who had a very wide range of skill levels. I made about 10 small cards with equations typed on them and printed out three sets each. I cut them out, and placed painter’s tape on the back and stuck them in groups on one of the whiteboards. After giving every group the first question at the end of the lesson introduction, the idea was that groups would go get the next card in the sequence as needed. If the card was not available, they would use their “knowledge mobility” to find another group that had the card they needed.
It…kind of worked? Some of the key issues I found with my approach were:
- I did not start the first equation with a low enough floor. Some students were stumped very early in the lesson and kind of gave up.
- I did not make enough equations to solve. Some groups went through them way too quickly.
- Not having enough cards for each question caused too much wandering around the room. Students were spending too much time trying to find the next question rather than working on it.
- I did not have any extension questions for groups that wanted more of a challenge.
Since then I have refined my process, and come up with something that works really well for me and my classroom. In no way am I saying this is the only or best way to do it, but for my personality and teaching style it really seems to work.
Lesson Design
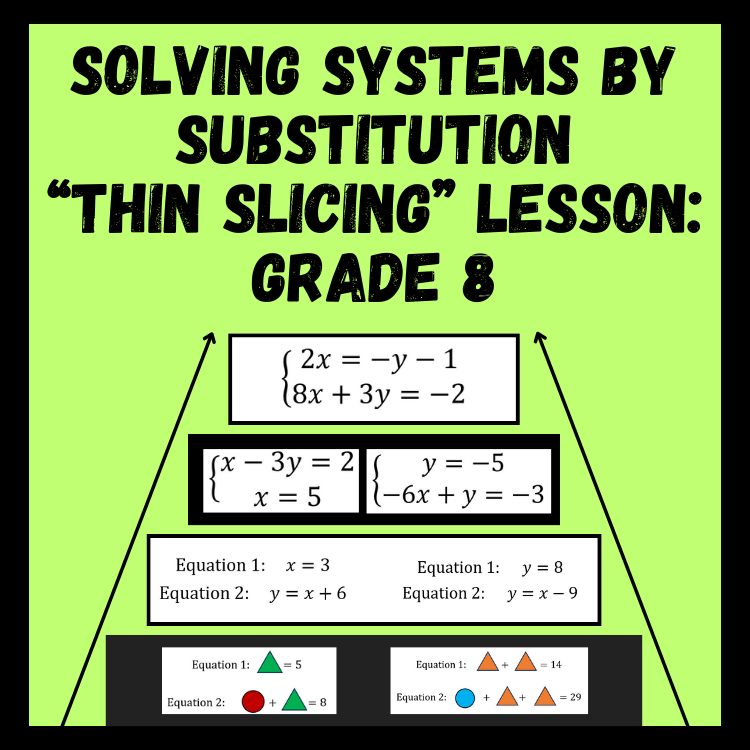
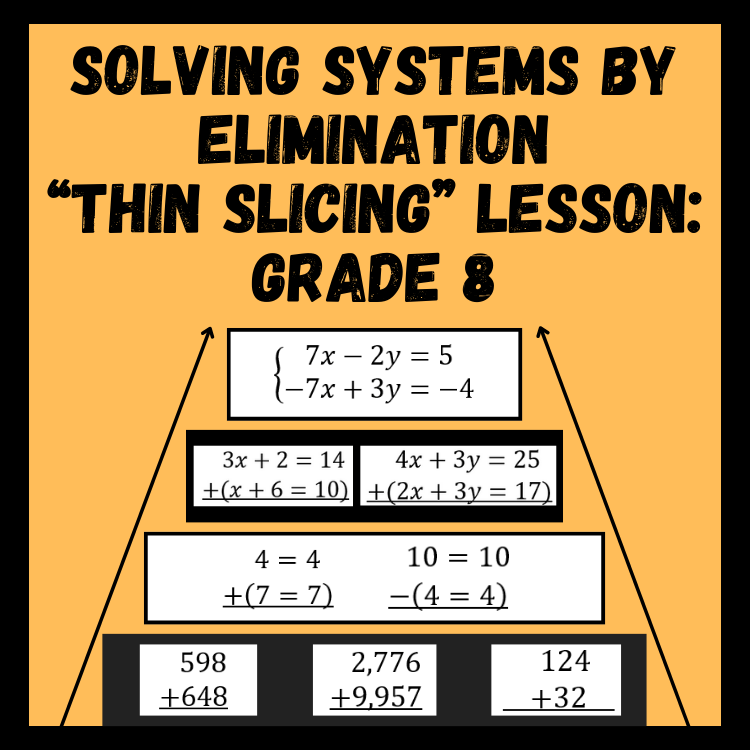
When designing a new thin slicing lesson I always ask myself what the simplest possible skill is that students need to gain entry into the topic. I can never really go low enough. Students with low math confidence can still start the lesson and build up, rather than hitting a wall on Task #1. Students with higher confidence can devour the beginning tasks, but eventually get to a challenging problem and slow down. Here’s an example of a lesson I created for solving systems by elimination:
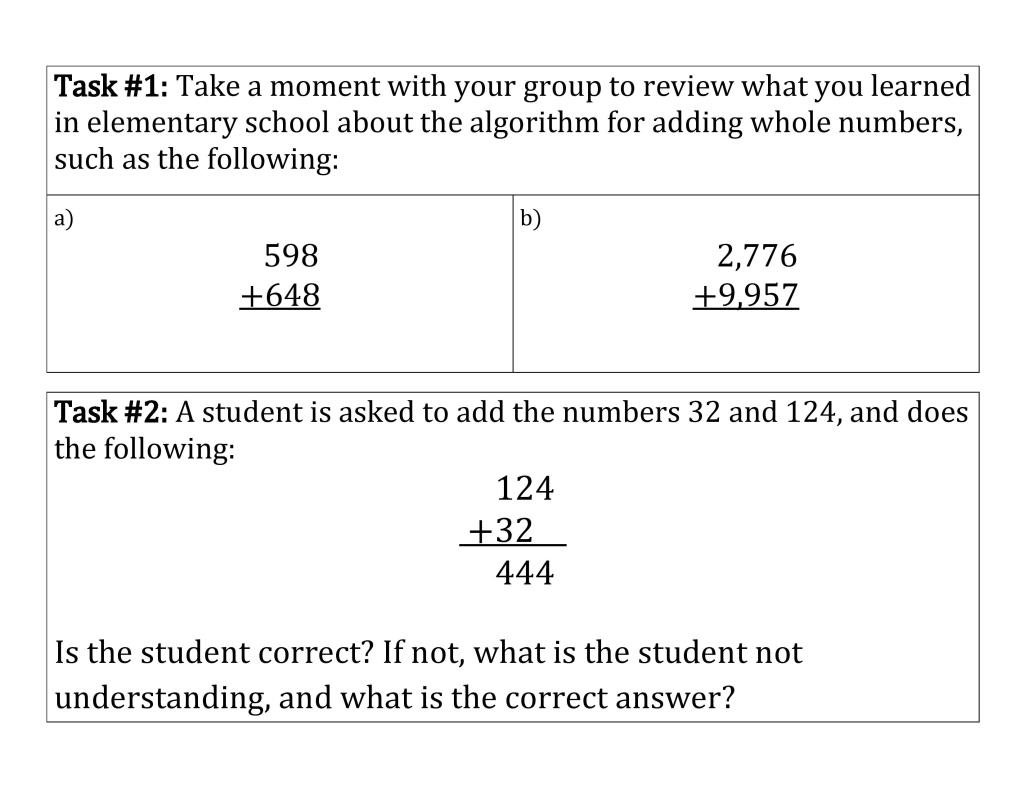
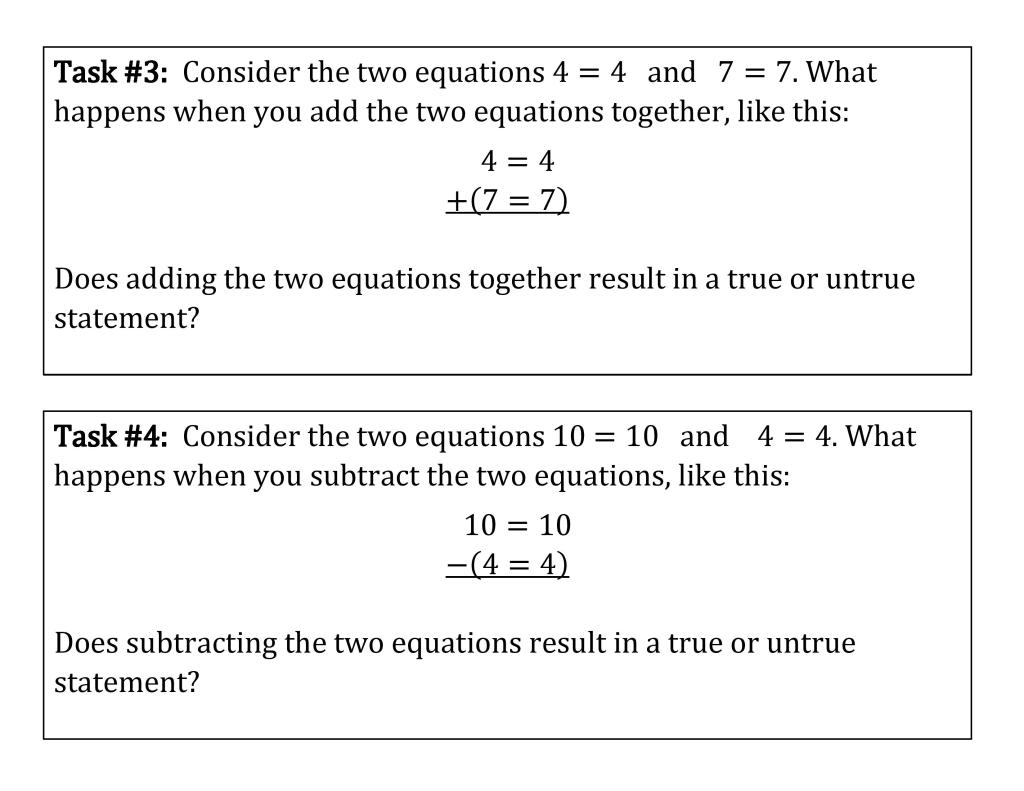
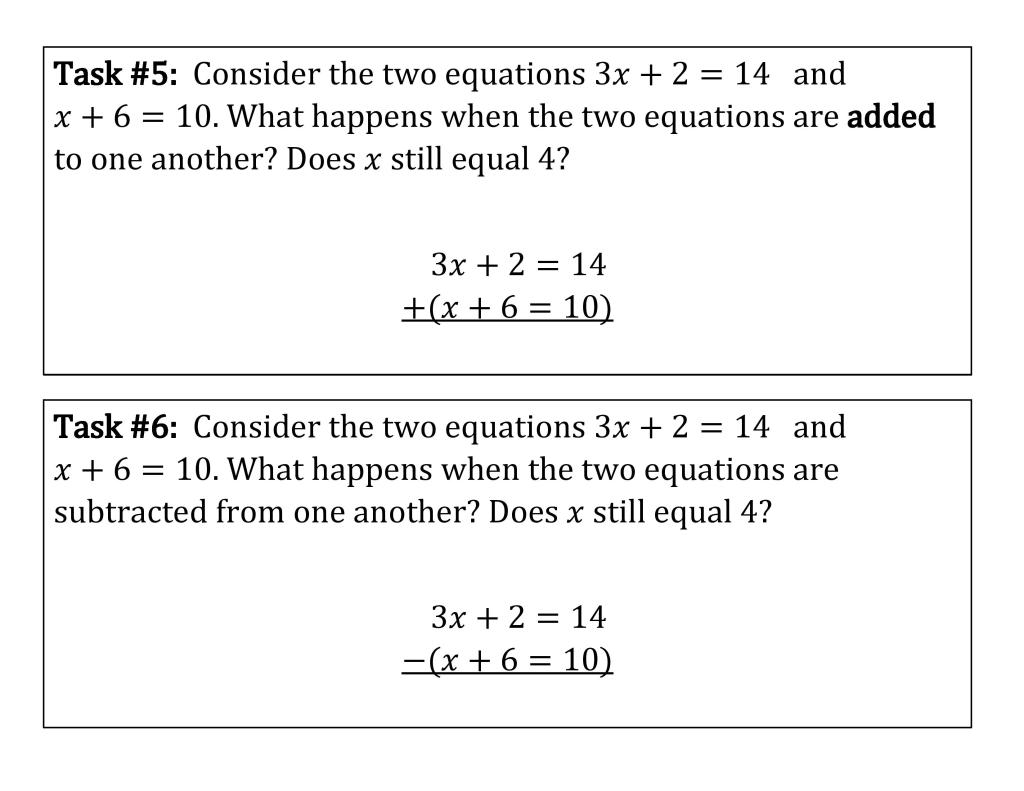
Every student in the room knows how to use the vertical adding algorithm, so they can all access the start of the lesson. Again, I repeat, you can never start the lesson with too low of a floor.
Lesson Prep
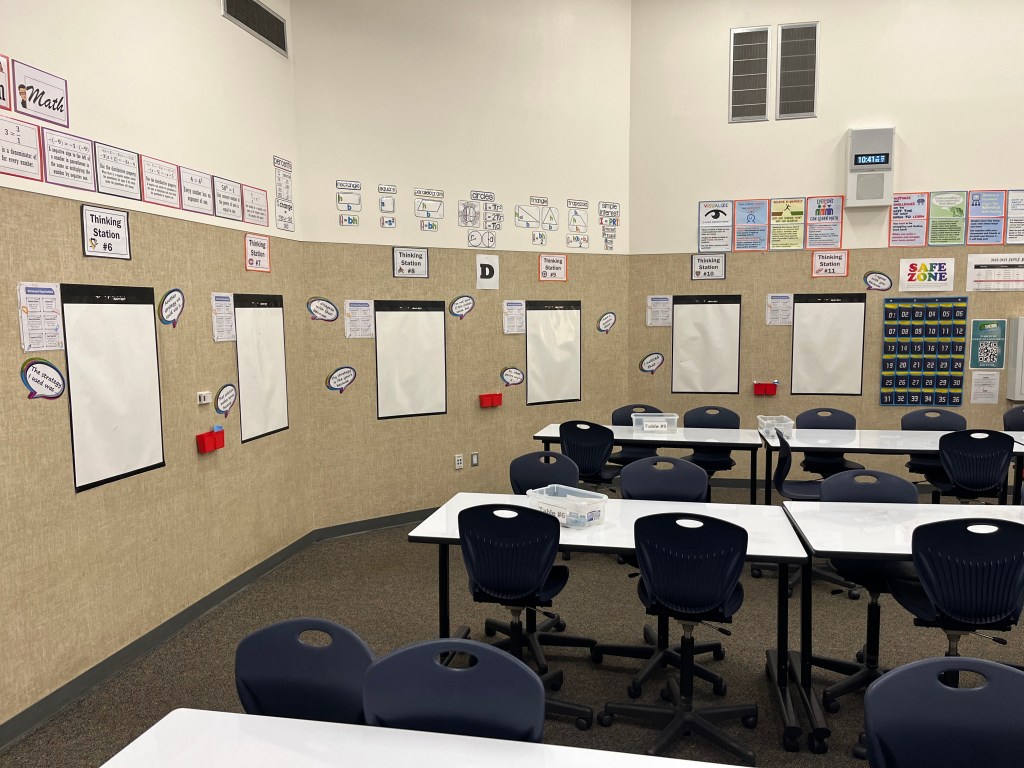
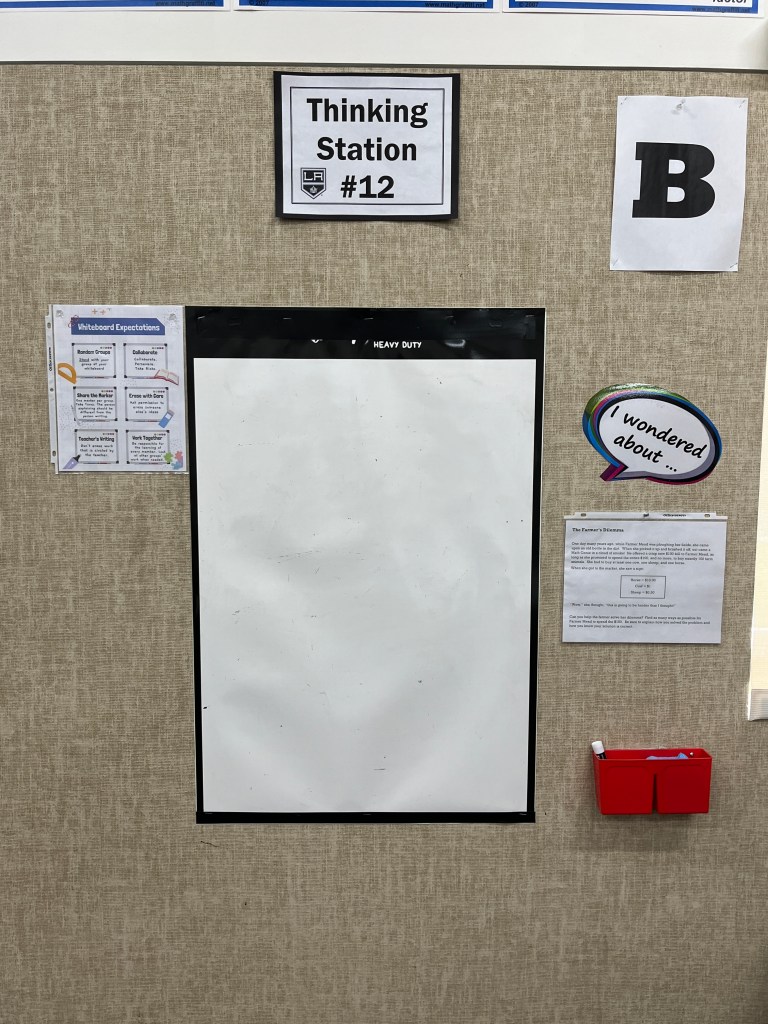
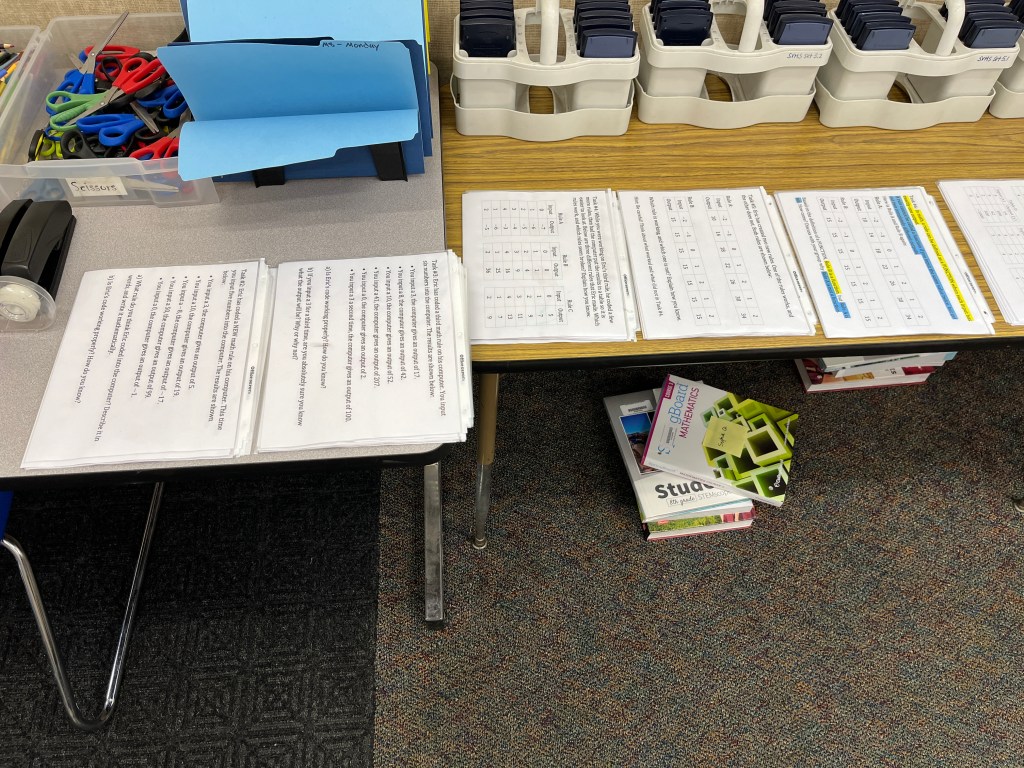
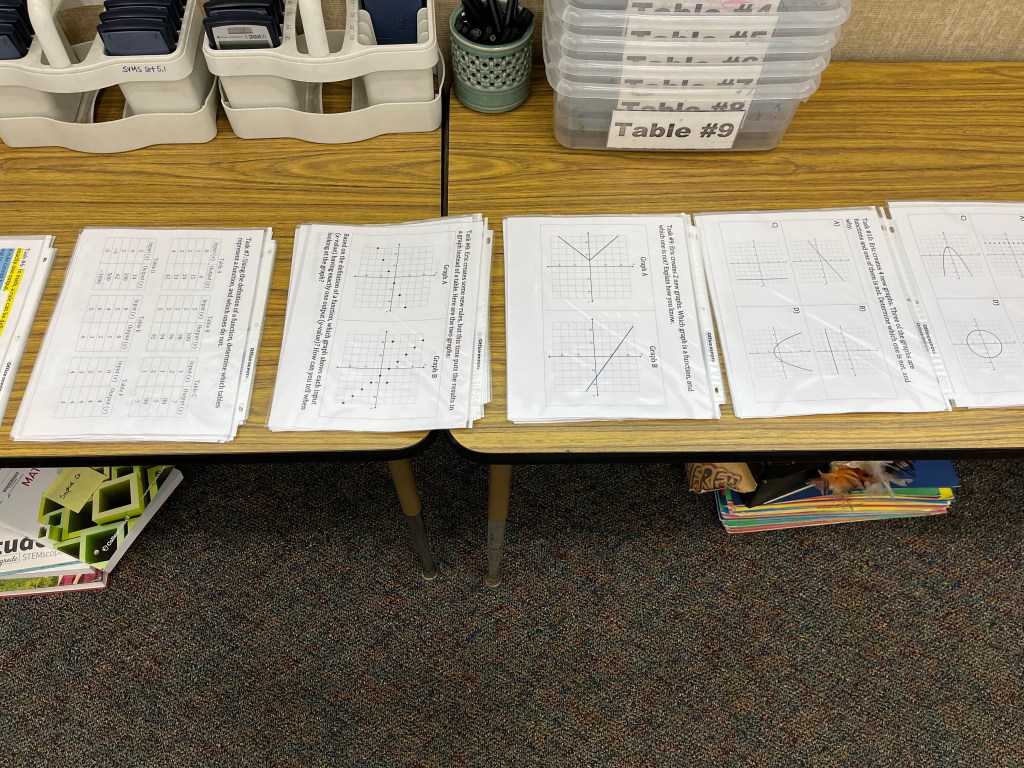
Since I have 12 “Thinking Stations” in my room, I like to print out 8 of each task card and put them each in a plastic sheet protector. I print them out on regular 8.5″ by 11″ paper, and all of the tasks are in the “Landscape” orientation. Since the sheet protectors have hole punches in them, a task card can be easily hanged on pushpin, nail, screw, or whatever you can muster in the wall. I have a screw in the wall between sets of two Thinking Stations, so neighboring groups can share a card in between two stations (two of my stations have no neighbors, so I can’t just print out 6 of each card).
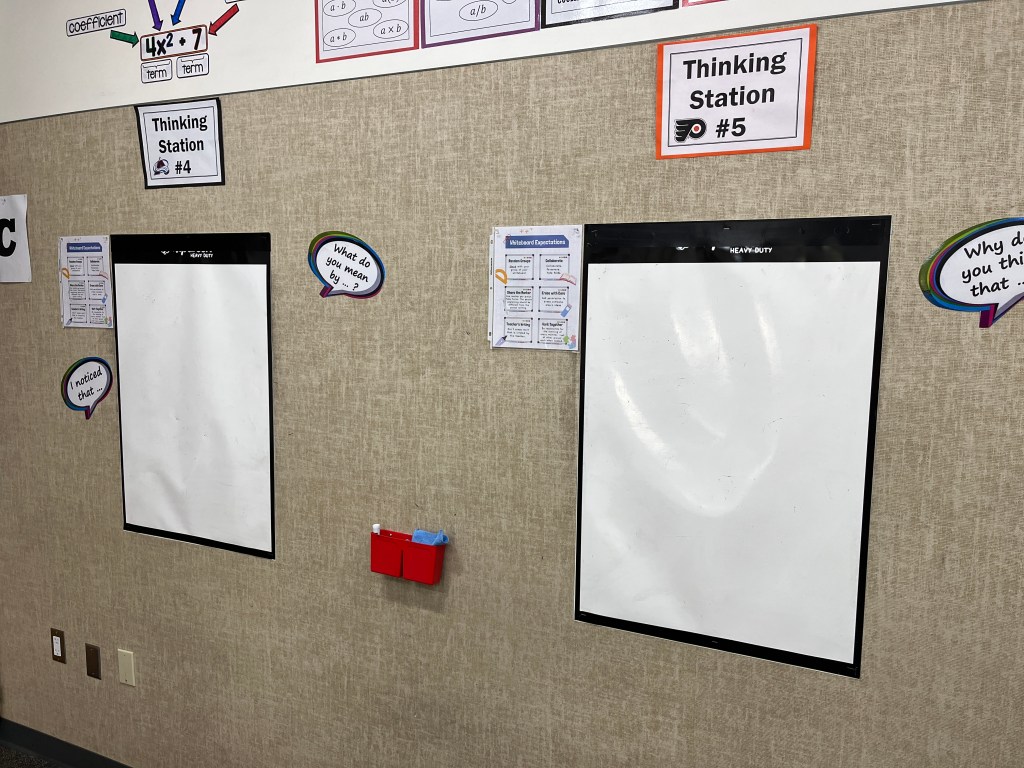
Before the lesson starts, I have the first task already hanging on the walls ready to go. The rest of the tasks are printed out, organized, and waiting on my front supply table.
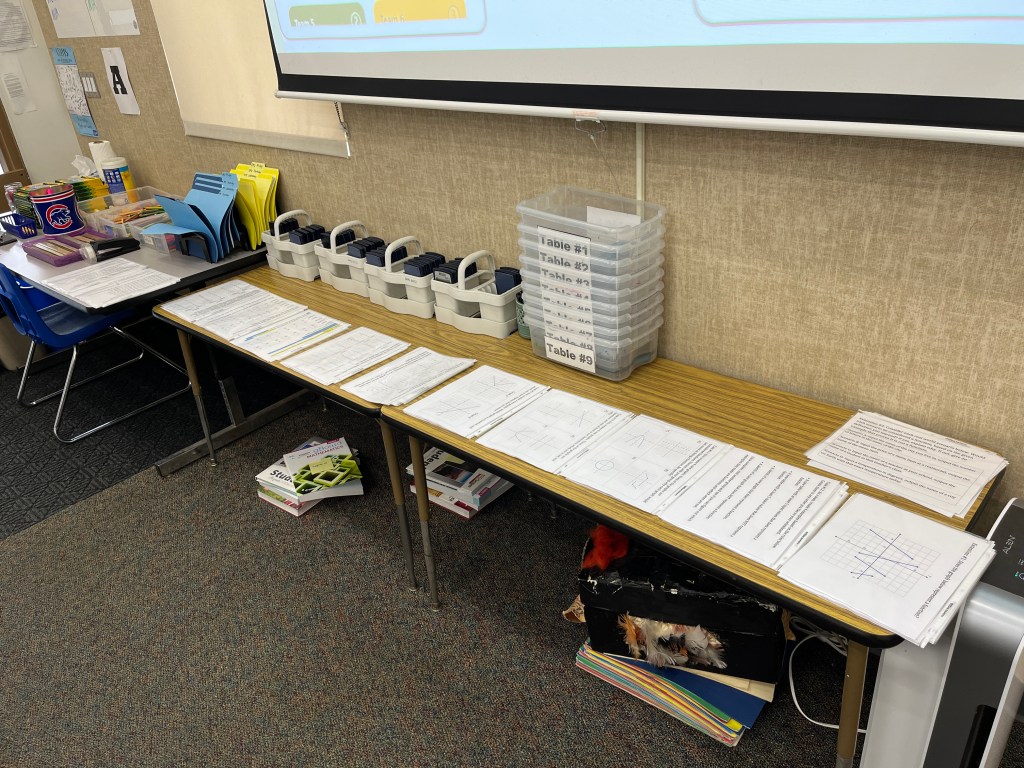
What I love about this approach is that teams can get tasks as needed, they always know where to go to get them, and the sharing between groups gets students collaborating more and cuts down on the amount of prep I need to do before the lesson. One drawback is that for one single lesson I have to print out and “sheet protect” about 60-100 cards, depending on how many tasks my lesson has that day. It’s a lot of putting paper in plastic, but once I have it prepped, there isn’t much else I need to do to get the lesson ready. It takes me about 10 minutes to get the lesson ready, if all the cards have been printed already (this is also a great job for a student aide to do the day before, if you have one).
One thing I asked for during Back To School Night was donations of sheet protectors, and the parents really came through. Now, once I have prepped a lesson, I just keep the set of cards for next year, provided I don’t make any edits to the lesson task cards. I know for a fact that I don’t need to touch my systems of equations substitution lesson for next year, so that one is ready to go!
Lesson Delivery
I like to give the 5 minute lesson intro before sorting students into their random groups, since they pay better attention when they aren’t thinking about who ended up in their group (middle school, am I right?). The intro depends on the topic, but I try to keep it really simple, focusing on the most basic skill needed for the target concept, and telling the students which task is the minimum needed to reach the learning goal for the day. In a lesson with 10 task cards, the minimum task is usually #6 or #7. I almost never have a group that doesn’t reach the minimum task required. If they don’t, then I reflect on my classroom management for the day and try to figure out where I went wrong. Either that, or the slices weren’t thin enough for that lesson and I need to do some editing later.
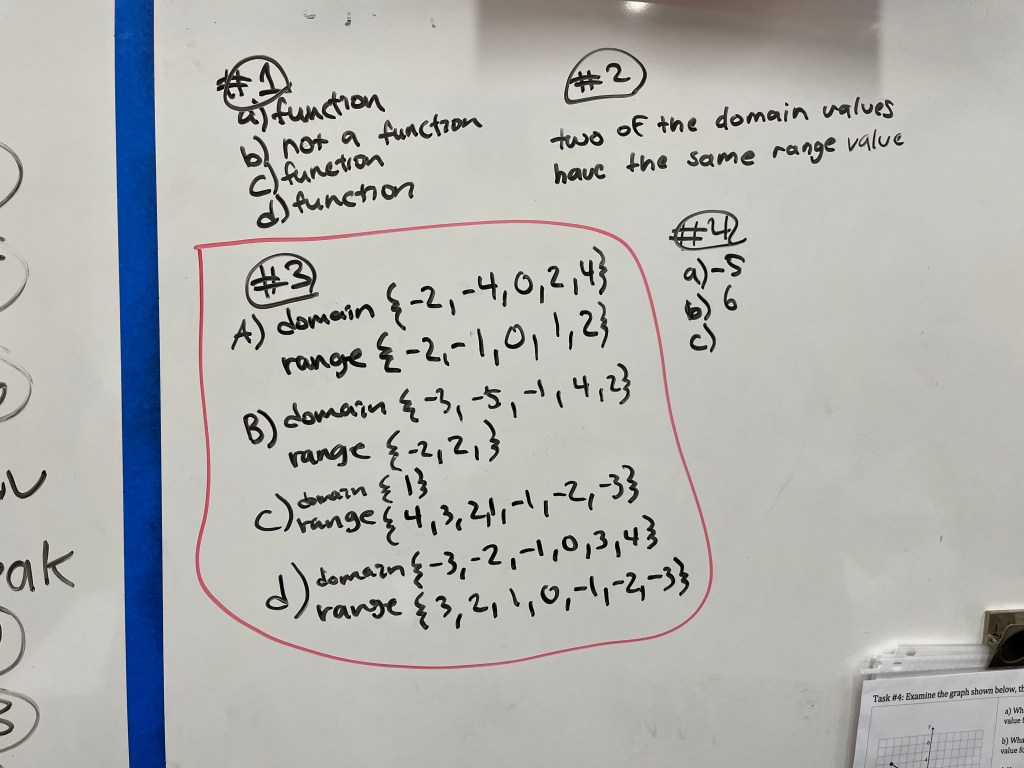
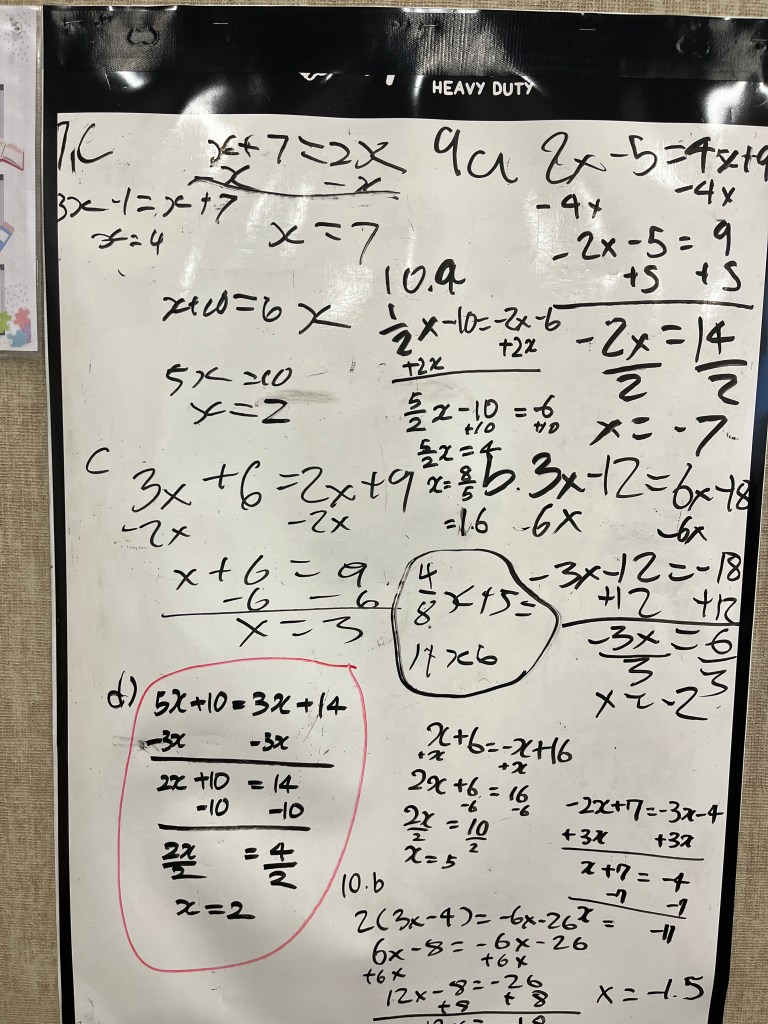
Once students are working my main job is to check in with each group, circle student examples in red marker that I want to discuss during the lesson consolidation, and ask guiding questions for groups who might be stuck or just visibly not understanding.
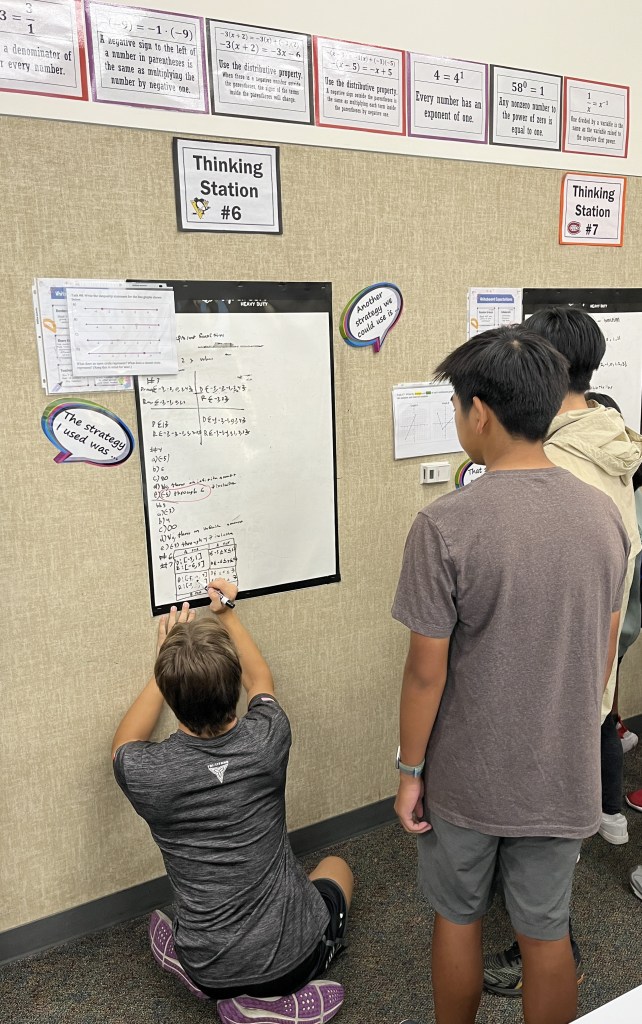
I think my favorite thing about the students working on vertical surfaces is that I can scan the whole room in under 30 seconds and find which groups need assistance, who needs redirecting, and which groups might be ready for an extension problem. Getting that same information when everyone is seated is much more challenging.
Lesson Conclusion
A thin slicing lesson is ideally done during a 90-minute block period. My school has 51 minute periods, which makes this a challenge. In the past I tried to do consolidation at the end of the period, but it always got rushed, and then we never had time to clean. I just couldn’t seem to make it work. Finally I realized that I could take photos of student work that I had circled in red and just insert the pictures into my agenda Google slides for the next class period. So now my thin slice lesson routine is:
Day 1:
- Attendance & Lesson introduction (6 minutes)
- Student grouping ( 2 minutes)
- Students work on task cards at thinking stations (35-40 minutes)
- Clean up and organize for the next class period (3 minutes)
Day 2:
- Attendance (1 minute)
- Lesson consolidation (10 minutes)
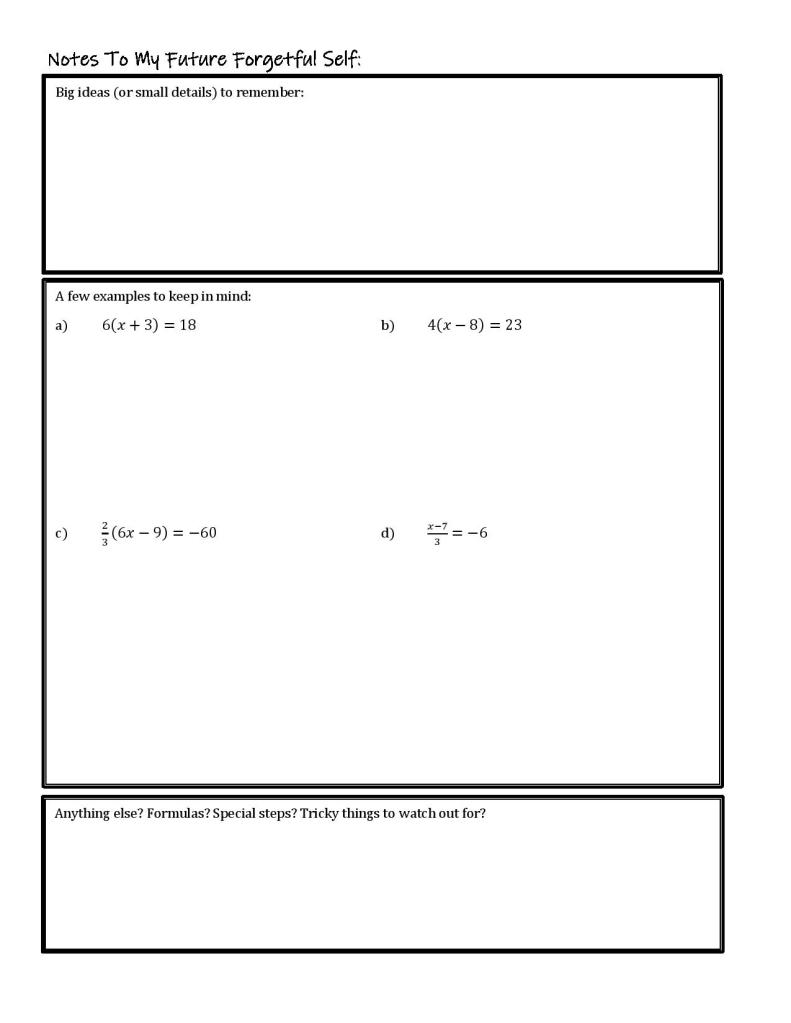
- Student Note-Making (20 minutes)
- Student “Check Your Understanding” Exit Ticket (15-20 minutes)
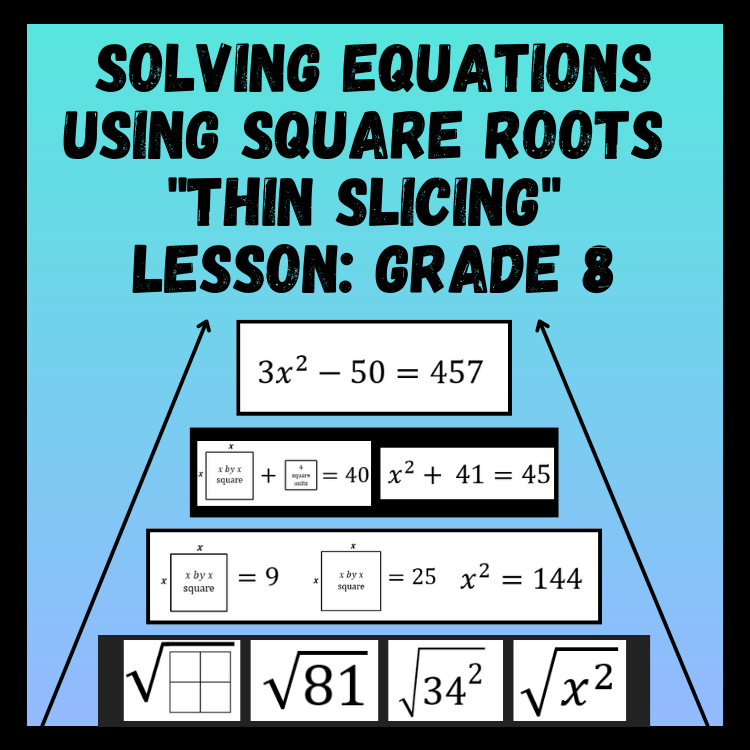
On day 2 I have printed and ready both the Note-Making and the Student Exit Ticket, as well as the solutions posted online. Here’s an example of that from my 8th grade Solving Equations lesson:
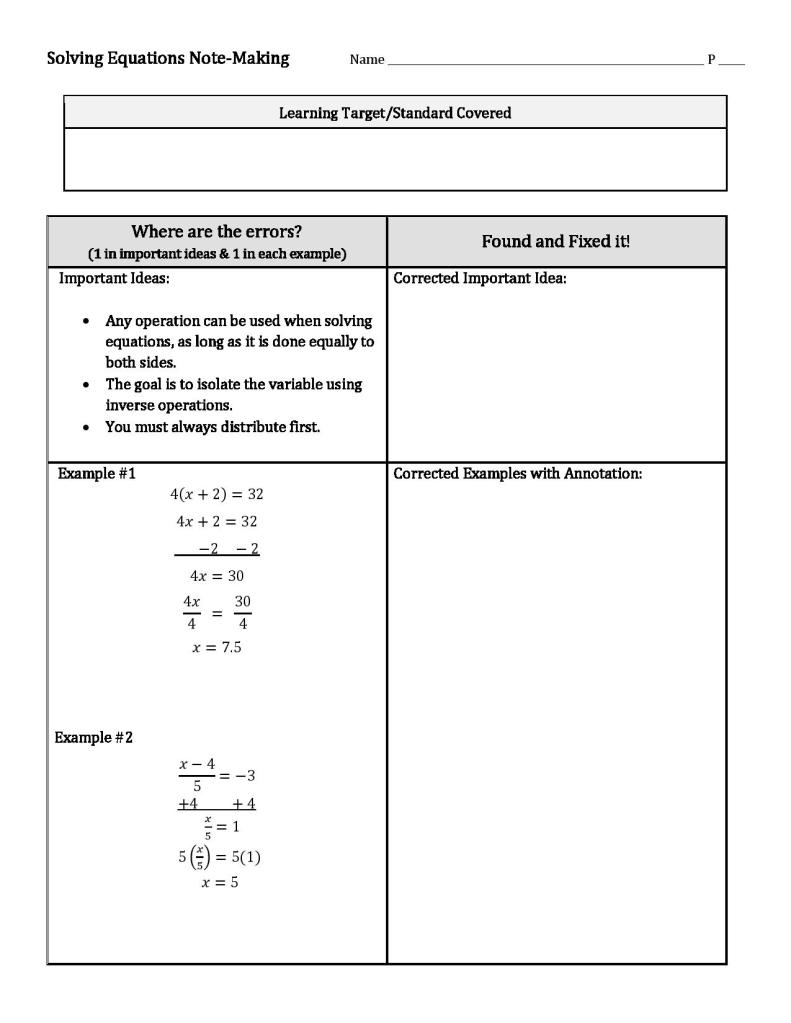

In the beginning of the school year I usually work on the Note-Making with the students, showing them what good annotations are and how they can be making notes that will actually help them in the future. By the middle of the year I don’t have to do as much with them, and they are more independent, which is amazing. This gives me time to work with student who I noted from the day before were not totally getting the new concept, or do a bit of small group instruction.
After that, we might have another practice day based on how the exit tickets look, or we might move on to the next topic.
Try It Out!
I love doing thin slicing lessons with my students, and when they come into the room and see the task cards ready on the supply table they are always more excited for class. Student engagement is always higher, and it makes them feel good knowing they figured out a concept on their own, rather than me just showing it to them through direct instruction. I highly encourage you to try out a lesson in your classroom. Well, first read Building Thinking Classrooms, then try it out in your classroom!
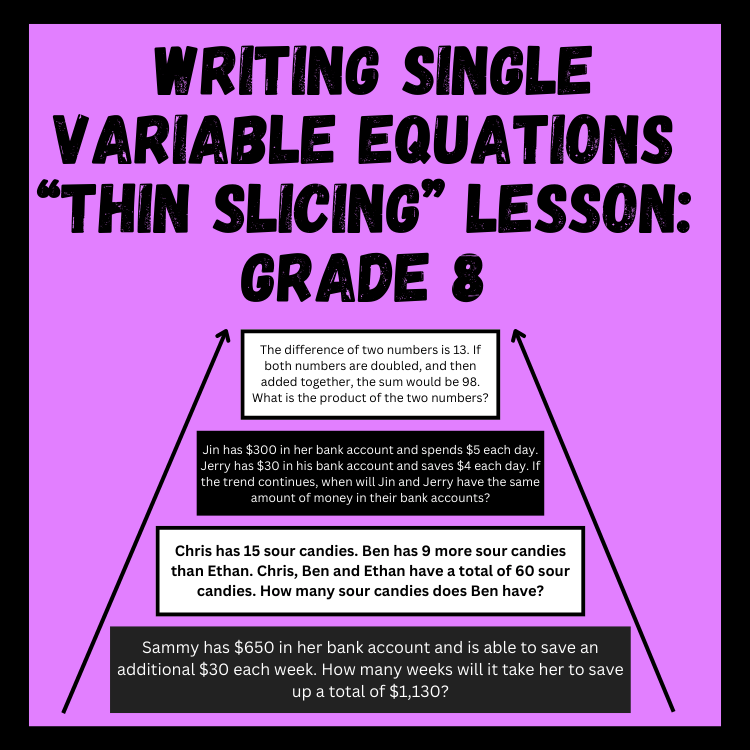
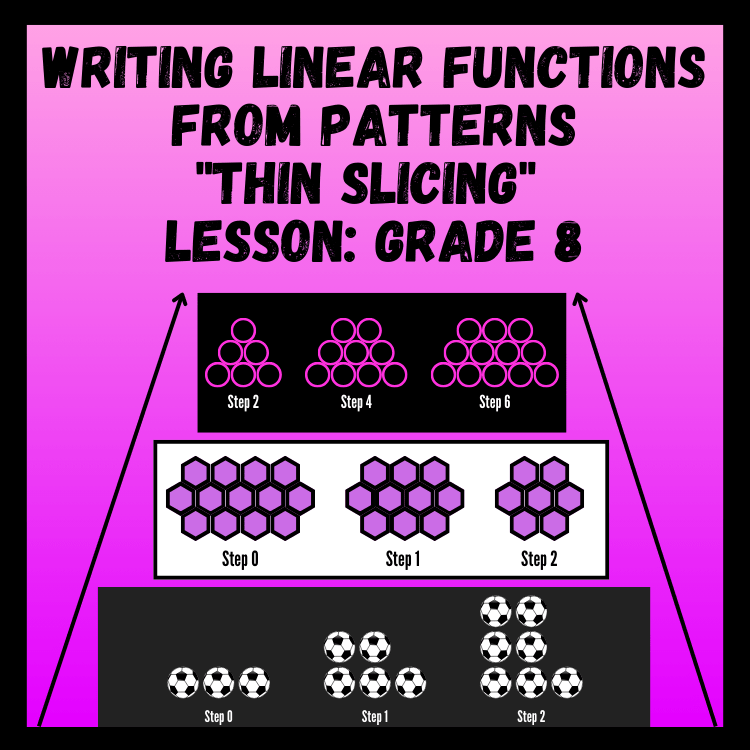
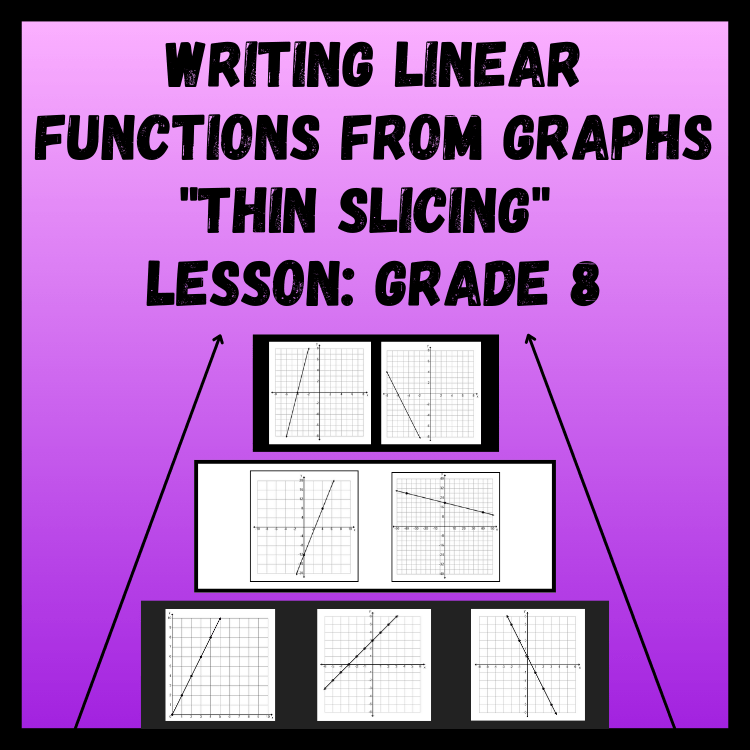
If you happen to teach 8th grade math, and you are overwhelmed by the thought of creating all of this yourself, you might want to try one of the lessons I have created. All you need is about 10,432 plastic sheet protectors (sort of kidding).
Grade 8 Thin Slicing Lessons

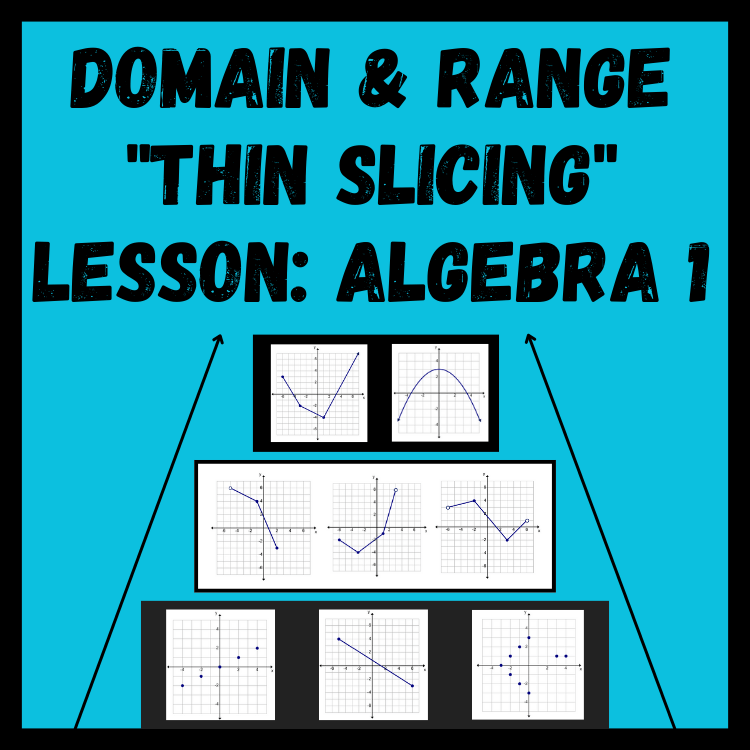
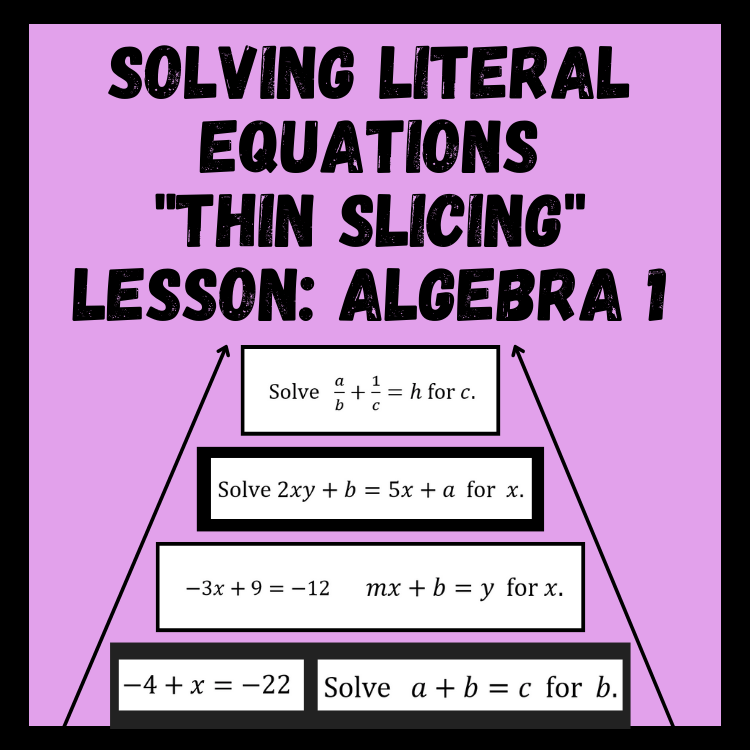
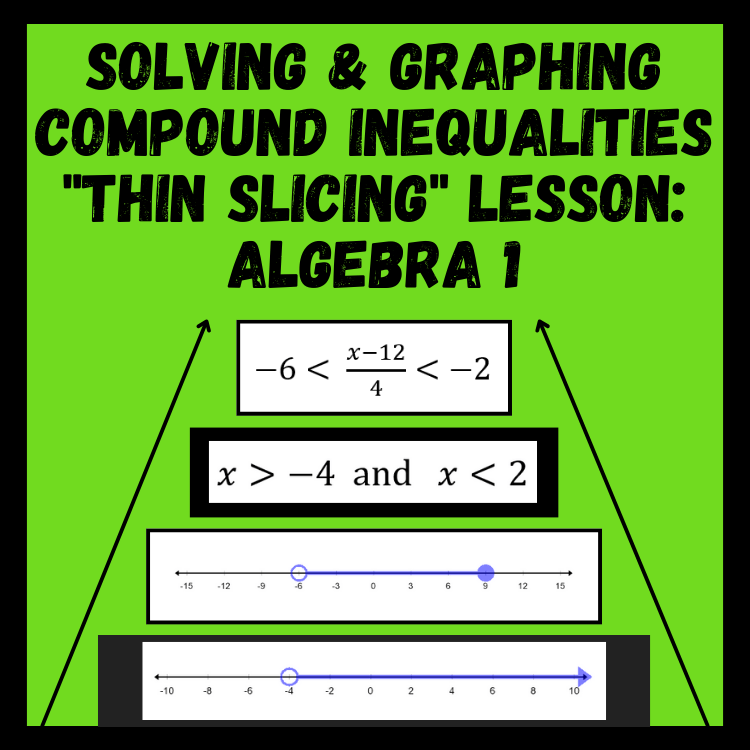
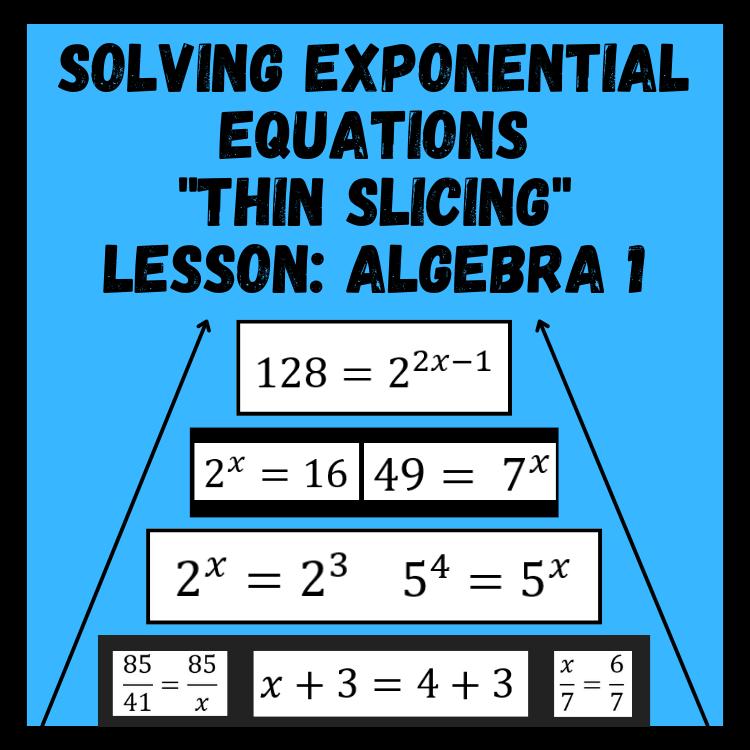
Algebra 1 Thin Slicing Lessons
For more on my journey with Building Thinking Classrooms, click here.
If you like my writing style and want to read more from my blog, check this out.
If you want to follow me on Instagram or Threads, click those links.
If you need an 8th grade math thin slicing lesson or review activity, check out my store on TPT or Amped Up Learning.
